
The benefits of car detailing.
Improved appearance:
Detailing helps to restore the shine and luster of your car’s paint, as well as clean and condition the interior, giving it a fresh, new look.
Increased value:
A clean, well-maintained car is more valuable than one that is dirty and neglected. Detailing can help to increase the resale value of your vehicle.
Protection:
Detailing helps protect your car’s finish from the elements and damage caused by contaminants such as bird droppings, tree sap, and road salt.
Longevity:
Properly maintaining your car through detailing can help to extend its lifespan by protecting its various systems and components.
Health benefits:
A clean car is healthier, as it can reduce allergens and improve air quality. Detailing can also help to eliminate odors, making your car more pleasant to drive.
Personal enjoyment:
Driving a clean, well-maintained car is more enjoyable. Detailing can help you take pride in your vehicle and make driving a more enjoyable experience.
Car Detailing in Chennai: Mobile Car Spa
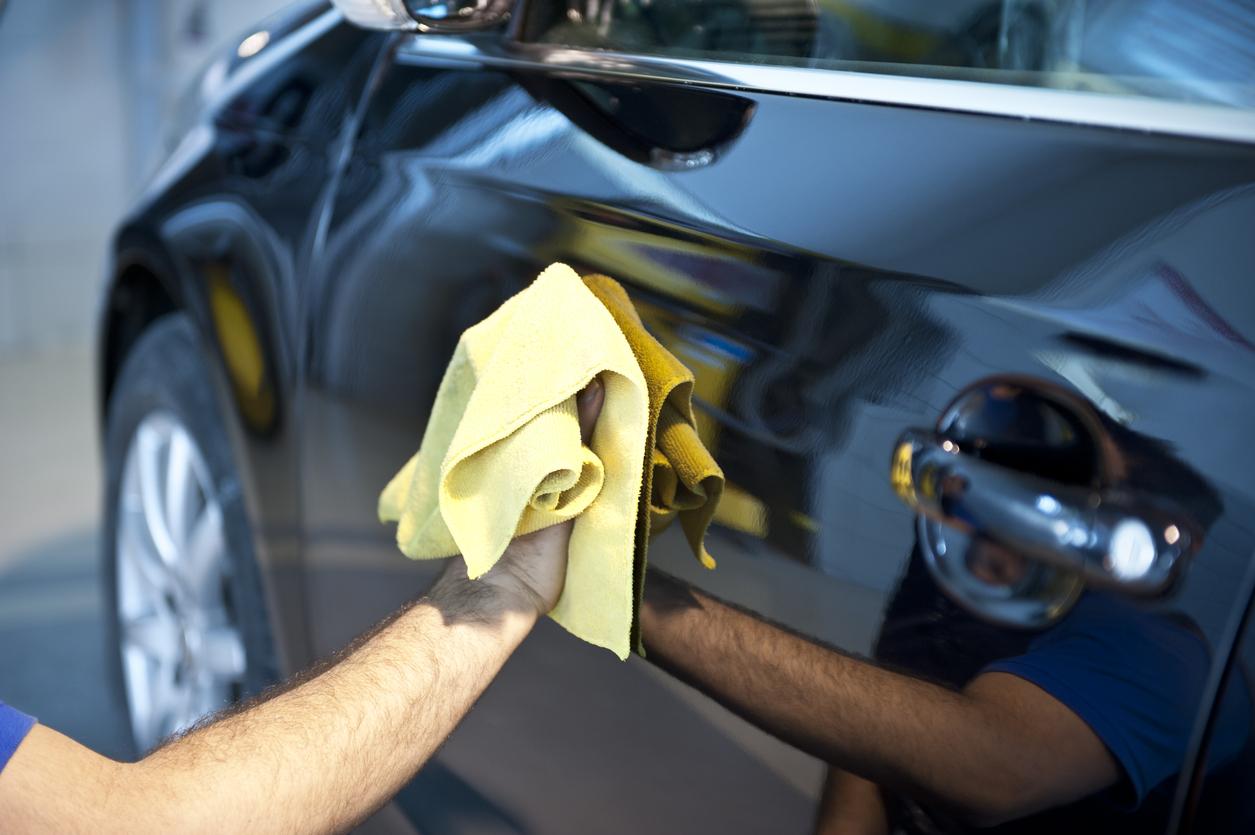
Different levels of detailing services.
There are several different levels of detailing services, ranging from a basic wash and wax to a full interior and exterior restoration. Here is a general breakdown of the different levels of detailing services:
Basic wash and wax:
This is the most basic level of detailing and includes a wash and wax of the exterior, tire shine, and interior vacuuming.
Intermediate detailing:
This level of detailing typically includes everything in the basic package, as well as additional services such as clay bar treatment and paint restoration.
Full detailing:
A full detailing package is the most comprehensive option and typically includes everything in the intermediate package, as well as additional services such as fabric protection and more thorough interior detailing.
Step 1: Pre-Detailing Preparation:
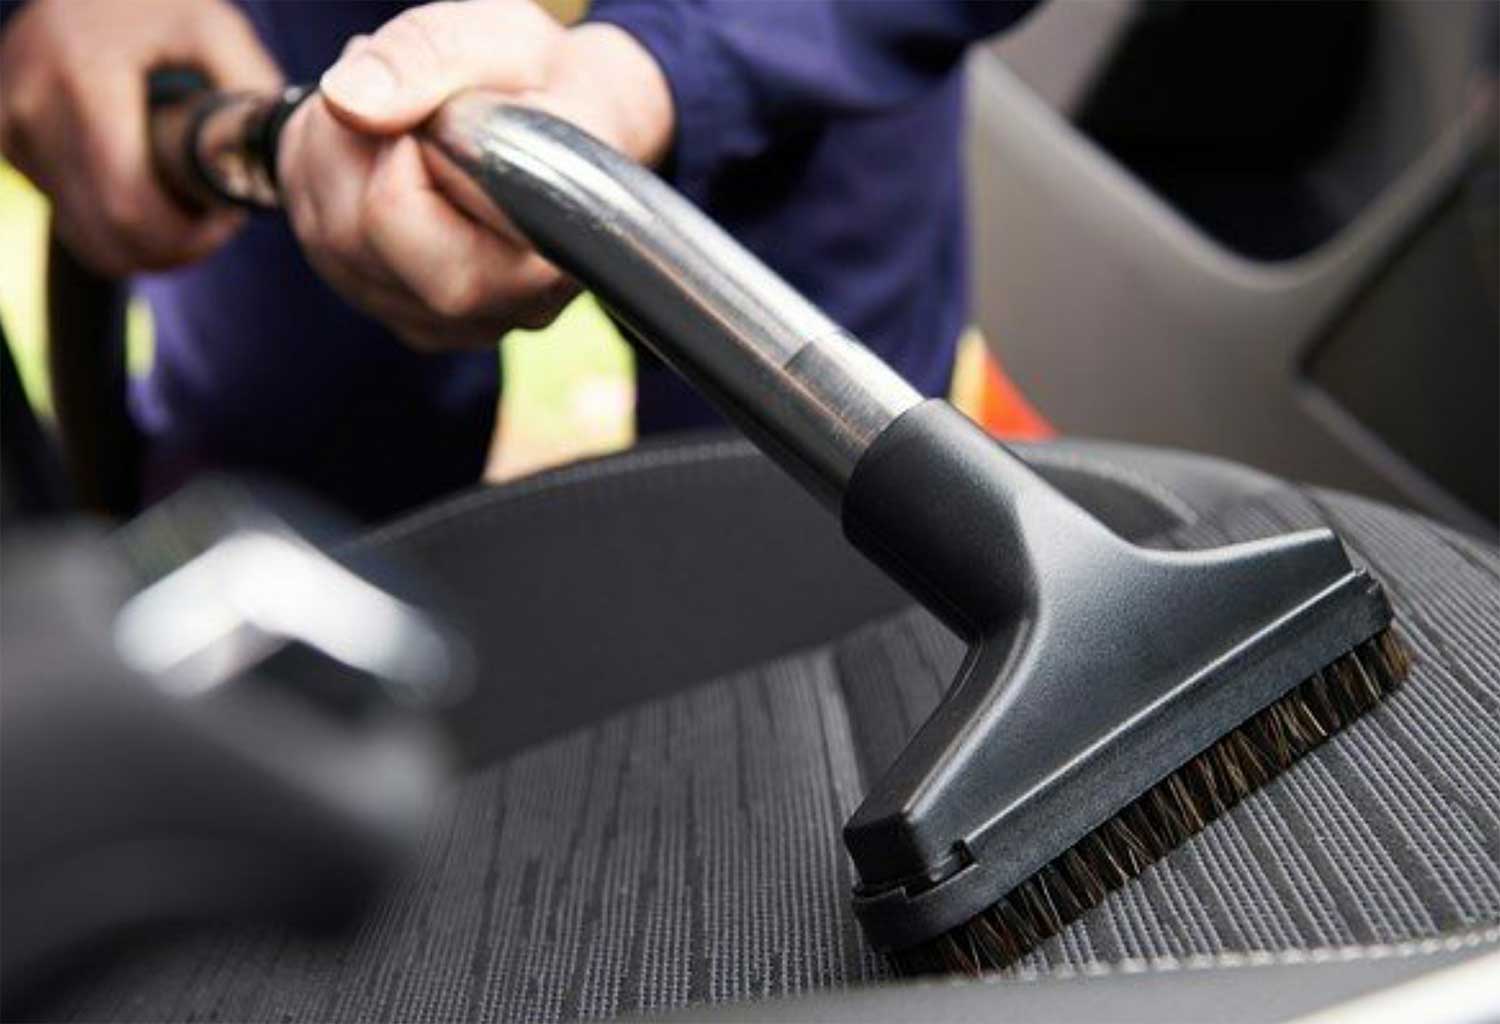
Pre-vacuuming the interior.
Pre-vacuuming the interior of your car is an important step in the detailing process. It helps to remove loose dirt and debris from the surfaces and crevices of the interior, making it easier to fully clean and detail the car.
To pre-vacuum, the interior of your car, start by removing any trash and loose items from the car. Then, using a high-quality automotive vacuum, thoroughly vacuum the floors, seats, and all other surfaces of the interior. Pay special attention to crevices and tight spaces, as these areas tend to accumulate dirt and debris.
If your car has removable floor mats, take them out and vacuum them separately. You may also want to use a crevice tool or a brush attachment to help remove dirt and debris from hard-to-reach areas.
Pre-vacuuming the interior of your car is an important first step in the detailing process and will help to ensure that the rest of the interior detailing goes smoothly.
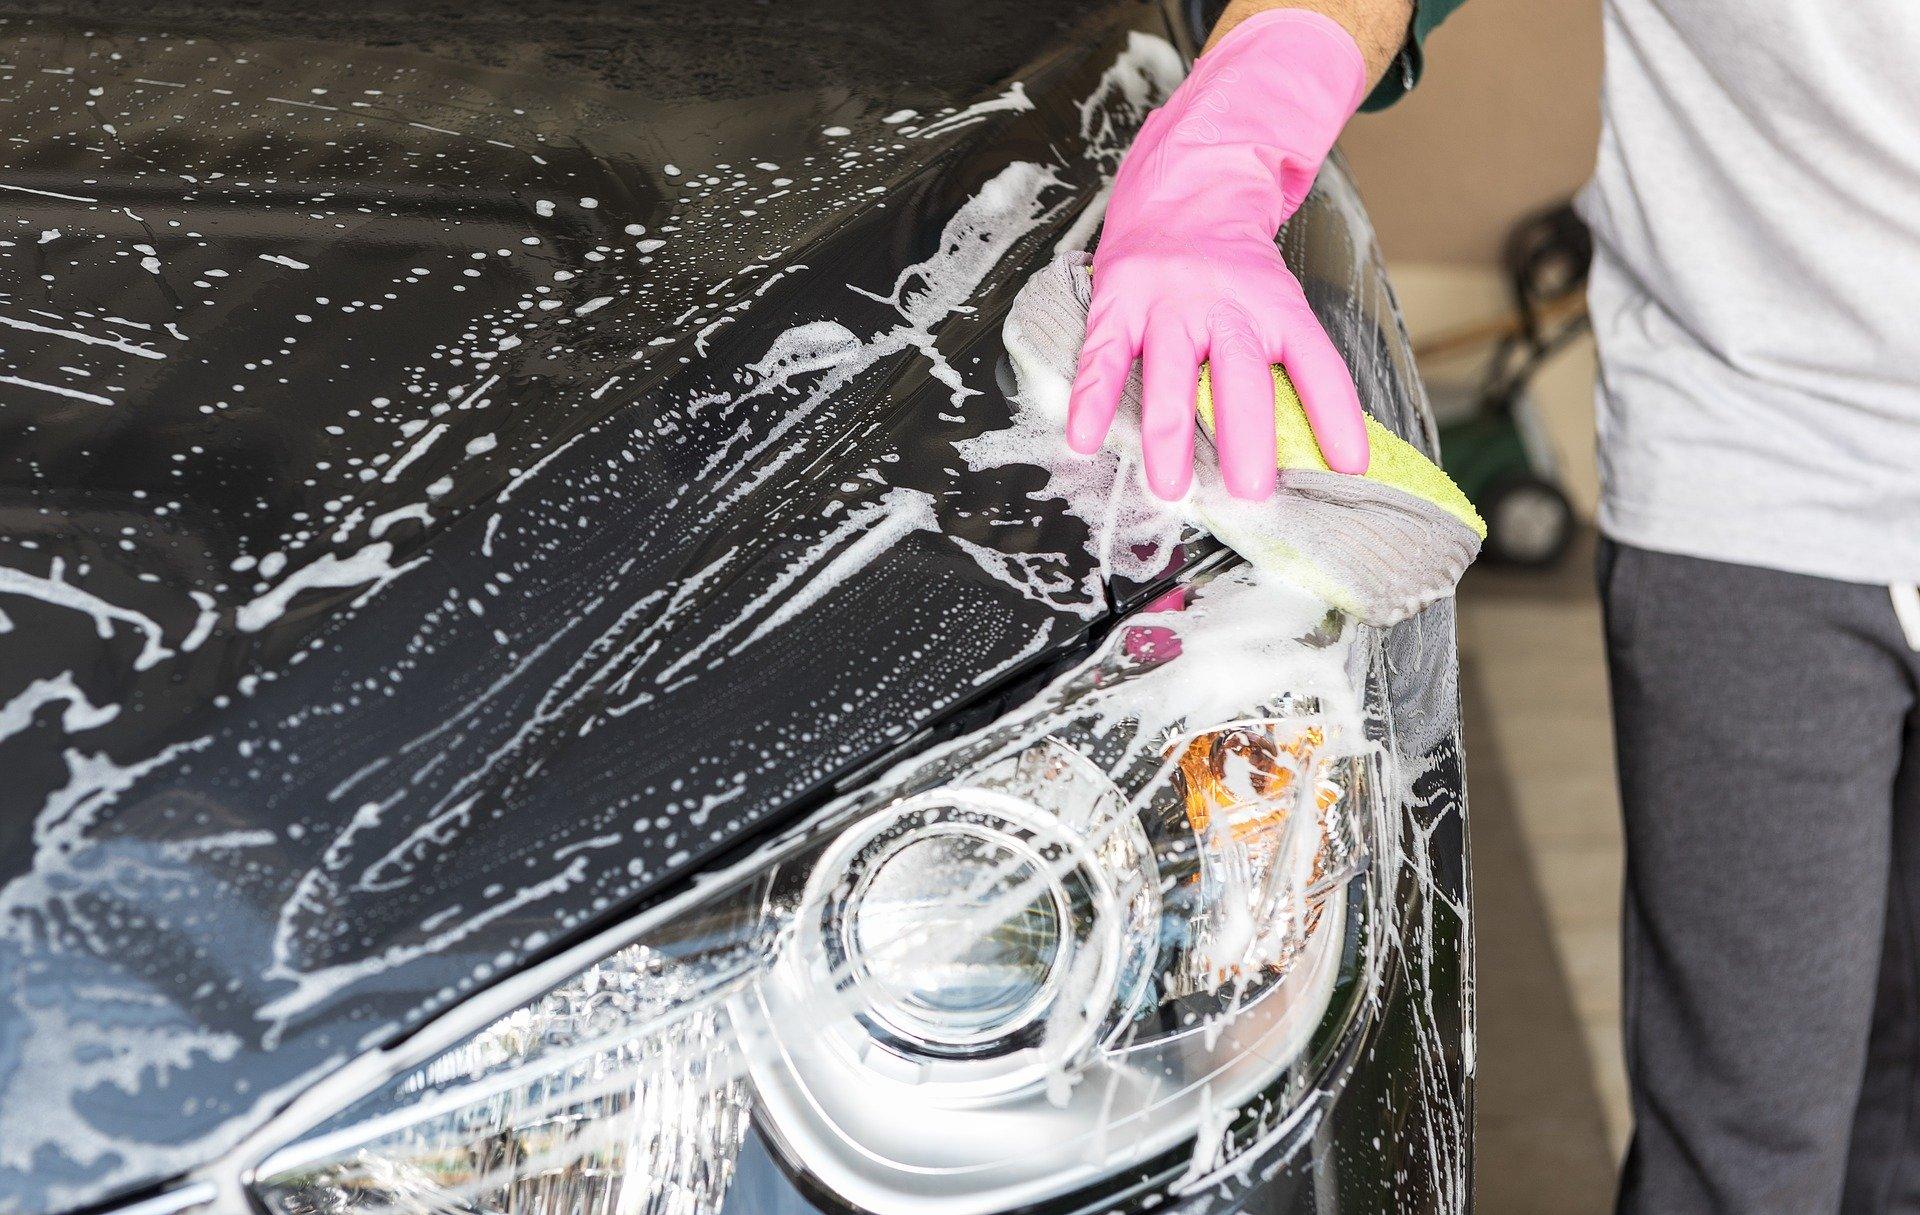
Washing the exterior.
Washing the exterior of your car is an important step in the detailing process. It helps to remove dirt, grime, and contaminants from the surface of the car, making it easier to wax and polish the finish.
To wash the exterior of your car, you will need a bucket of soapy water, a hose or pressure washer, a sponge or wash mitt, and a drying towel or chamois cloth.
Here is a step-by-step guide for washing the exterior of your car:
- Rinse off the car with a hose or pressure washer to remove loose dirt and debris.
- Mix a small amount of car wash soap with water in a bucket.
- Dip the sponge or wash mitt into the soapy water and start washing the exterior of the car, starting at the top and working your way down. Be sure to wash all sides of the car, including the wheels and tires.
- Rinse the car thoroughly with a hose or pressure washer to remove all soap and dirt.
- Dry the car with a towel or chamois cloth, starting at the top and working your way down. Be sure to dry all surfaces, including the wheels and tires.
By following these steps, you can effectively wash the exterior of your car and remove dirt and contaminants that can dull the finish.
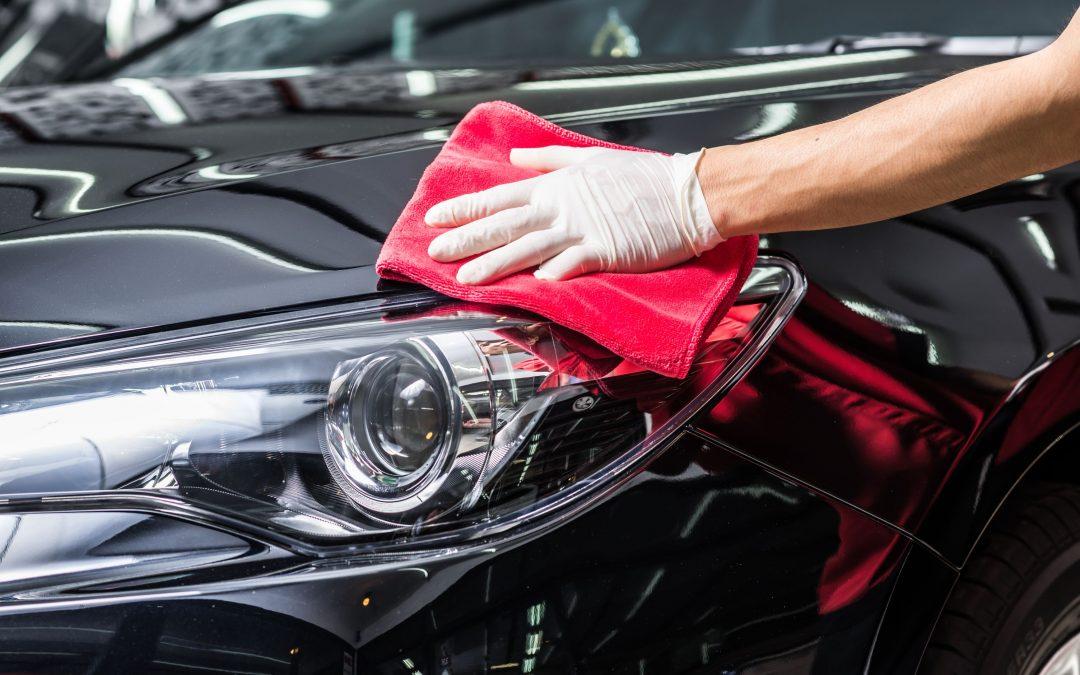
Drying the car.
It helps to remove water from the surface of the car, preventing water spots and streaks that can dull the finish.
There are several different methods you can use to dry your car, including:
Towel drying: This is the most basic method and involves using a large, absorbent towel or chamois cloth to blot the water from the surface of the car. Start at the top of the car and work your way down, using a clean, dry section of the towel for each pass.
Air drying: If you have time and the weather is warm, you can simply let the car air dry. This method is the least likely to leave water spots, but it can take longer for the car to completely dry.
Blower drying: Some car washes have high-powered blowers that can be used to blow water off the surface of the car. This method is fast and effective, but it can be noisy and may not be as thorough as towel drying.
Automatic drying: Some high-end car washes have automatic drying systems that use a combination of blowers and heat to quickly and effectively dry the exterior of the car.
No matter which method you choose, be sure to dry all surfaces of the car, including the wheels and tires. Proper drying is an important step in the detailing process and will help to prevent water spots and streaks that can dull the finish of your car.
Step 2: Clay Bar Treatment:
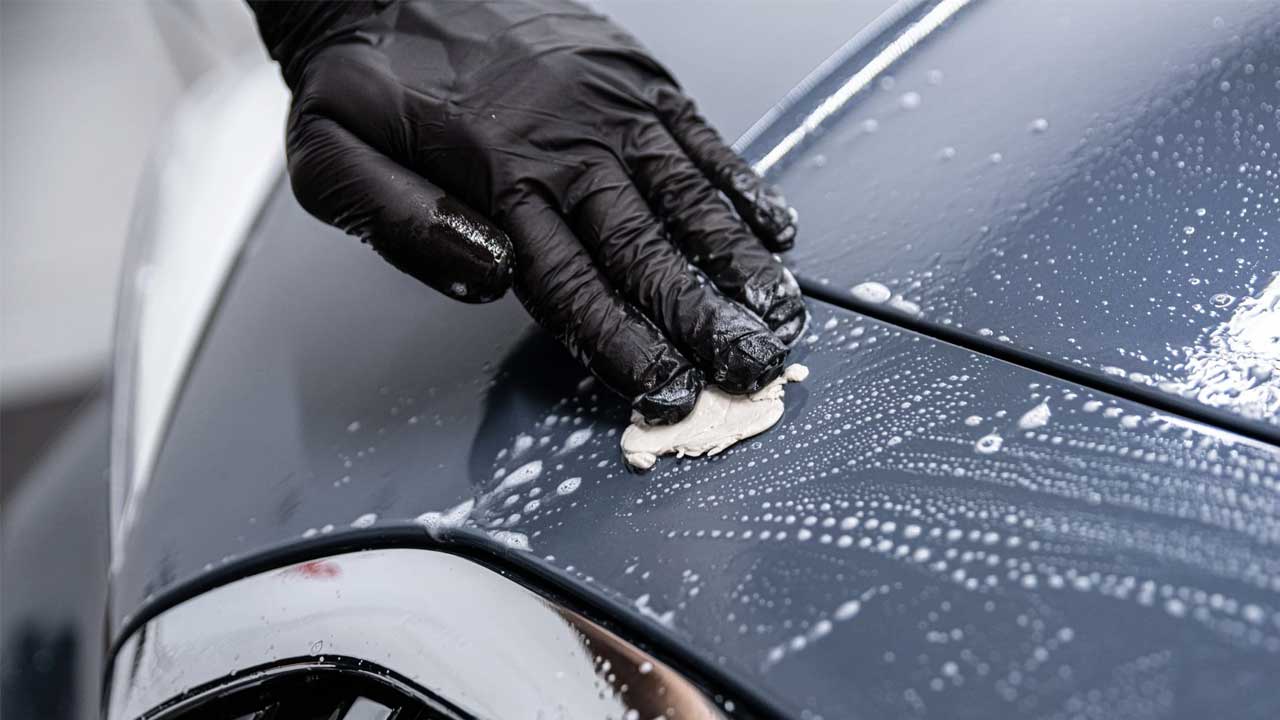
What is a clay bar treatment?
A clay bar treatment is a process that is used to remove contaminants from the surface of a car’s paint. It is typically done as part of the detailing process to prepare the car for waxing and polishing.
A clay bar is a small, pliable bar of clay that is used to gently remove contaminants from the surface of the paint. The clay bar is worked over the surface of the paint using a back-and-forth motion, pulling the contaminants away from the paint and onto the clay.
Contaminants that can be removed with a clay bar treatment include:
Tar and asphalt
Overspray
Industrial fallout
Tree sap
Bug remains
Using a clay bar treatment can help to restore the smoothness and shine of a car’s paint, as it removes contaminants that can dull the finish. It is an important step in the detailing process and is typically followed by waxing and polishing to further protect and enhance the car’s finish.
How does Clay Bar treatment remove contaminants from the paint?
During a clay bar treatment, the clay bar is worked over the surface of the paint using a back-and-forth motion. The clay bar is gently pressed against the paint and then pulled away, pulling the contaminants off the paint and onto the clay.
The clay bar is able to remove contaminants from the paint because it has a highly porous surface that is able to absorb and trap the contaminants as it is worked over the paint. The clay bar is able to pick up contaminants that are too small to be removed by washing alone, such as industrial fallout and tree sap.
After the clay bar treatment, the paint surface is left smooth and clean, with no trace of the contaminants that were previously present. The clay bar treatment is typically followed by waxing and polishing to further protect and enhance the car’s finish.
Step 3: Paint Restoration:
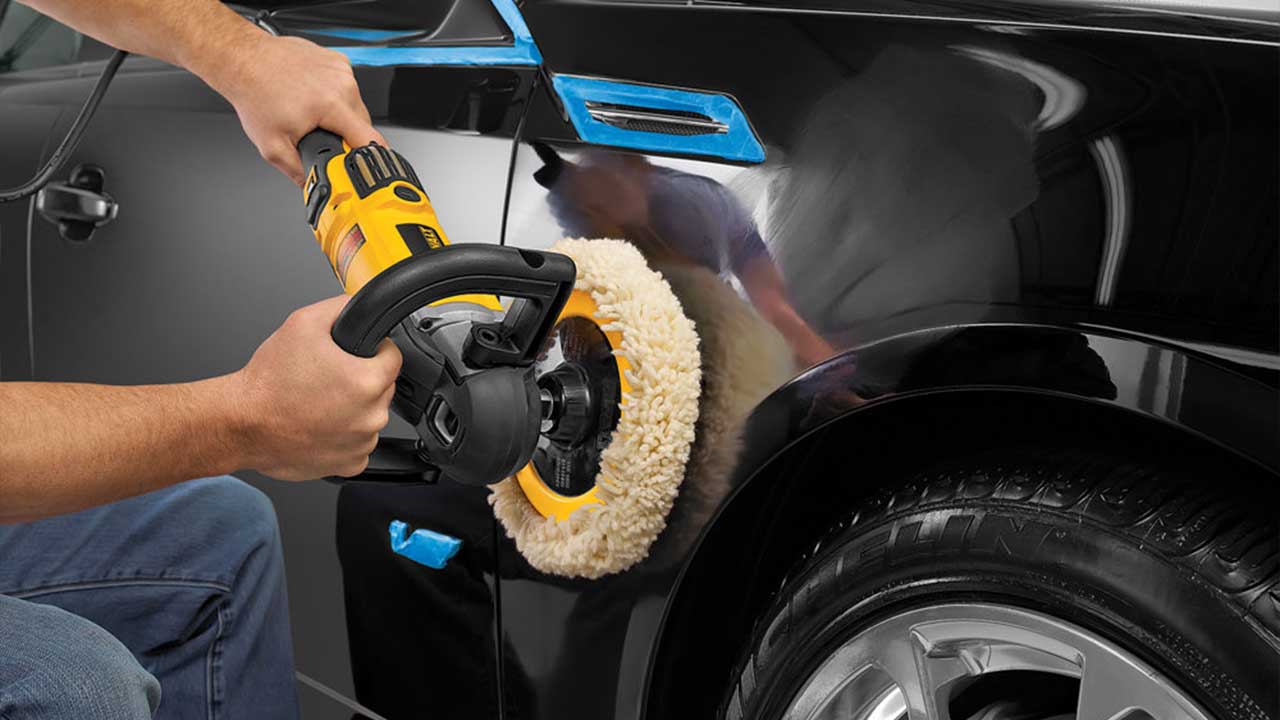
What is paint restoration?
Paint restoration is a process that is used to restore the appearance of a car’s paint. It involves removing scratches, blemishes, and other imperfections from the paint surface, leaving it looking smooth and shiny.
There are several different methods that can be used for paint restoration, including:
Machine buffing: This method involves using a high-speed rotary buffer and specialized buffing compounds to remove scratches and blemishes from the paint.
Wet sanding: This method involves using fine-grit sandpaper and water to gently sand away scratches and imperfections from the paint.
Compound polishing: This method involves using a compound, or heavy-duty cleaner, to remove scratches and blemishes from the paint.
Touch-up: This method involves using a small amount of paint to cover up minor scratches and blemishes.
Paint restoration can be a time-consuming and labor-intensive process, but it can greatly improve the appearance of a car’s paint and restore its shine. It is typically done as part of a full detailing package and is followed by waxing and polishing to further protect and enhance the finish.
Step 4: Waxing:
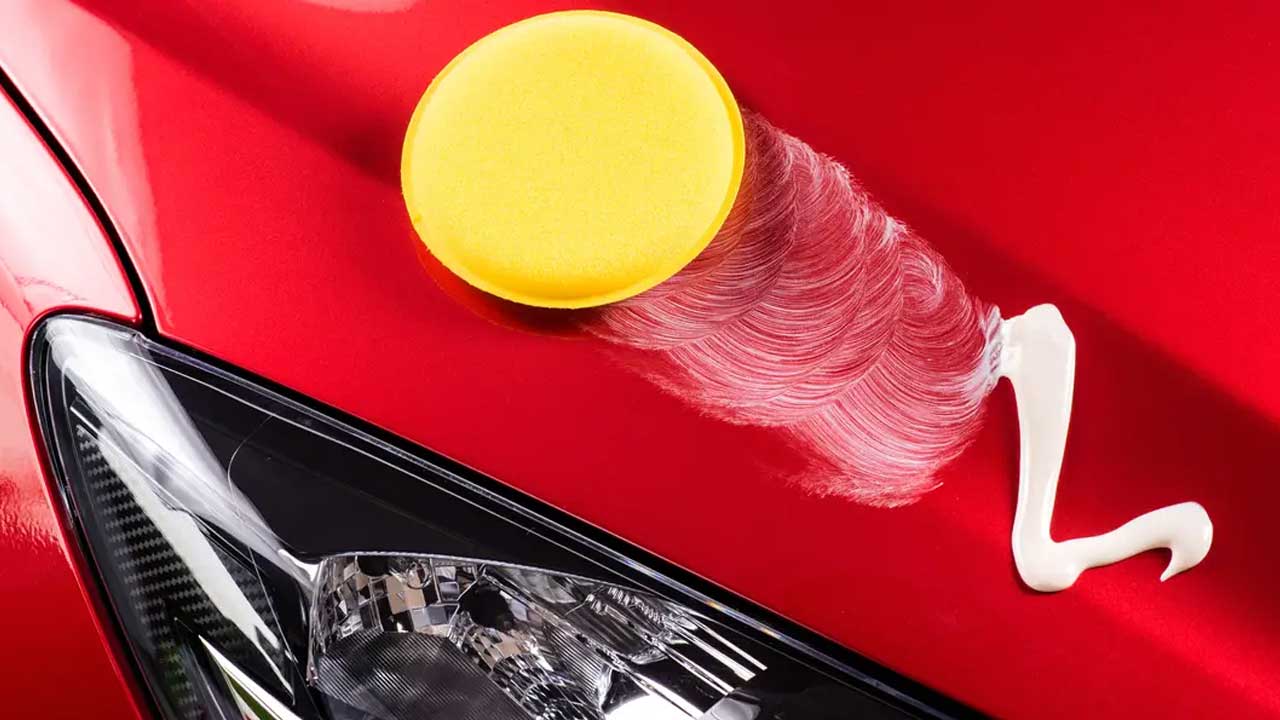
Types of waxes:
There are several different types of waxes that can be used to protect and enhance the finish of a car’s paint. Here are some of the most common types of waxes:
Carnauba wax: This is a natural wax that is derived from the leaves of the Brazilian palm tree. It is known for its deep, warm shine and its ability to protect the paint from the elements.
Synthetic wax: This is a man-made wax that is made from a variety of synthetic ingredients. It is typically easier to apply and remove than natural wax and offers good protection for the paint.
Liquid wax: This is a wax that comes in a liquid form and is applied using a foam applicator or a microfiber towel. It is typically easier to apply than paste wax and is less likely to leave a residue.
Paste wax: This is a wax that comes in a solid form and is applied using a foam applicator or a microfiber towel. It tends to offer longer-lasting protection than liquid wax and can produce a deeper, more lustrous shine.
Hybrid wax: This is a wax that combines natural and synthetic ingredients to create a product that offers the benefits of both types of wax. It is typically easier to apply than paste wax and offers good protection for the paint.
No matter which type of wax you choose, be sure to follow the manufacturer’s instructions for application and removal to get the best results.
How waxing protects the paint and adds shine:
Waxing protects the paint on a car by creating a barrier between the paint and the environment. When applied to the paint, wax forms a thin film that helps to protect the paint from damaging elements such as UV rays, road salt, and bird droppings.
Waxing also helps to enhance the shine of the paint by filling in microscopic imperfections in the paint surface. As the wax dries, it hardens and creates a smooth, shiny finish.
There are several different types of waxes that can be used on a car’s paint, each with its own specific benefits. Carnauba wax, for example, is known for its deep, warm shine and its ability to protect the paint from the elements. Synthetic waxes, on the other hand, are typically easier to apply and remove and offer good protection for the paint.
No matter which type of wax you choose, be sure to follow the manufacturer’s instructions for application and removal to get the best results. Properly waxing your car’s paint can help to protect the finish and enhance its shine, making it look its best.
Step 5: Interior Detailing:
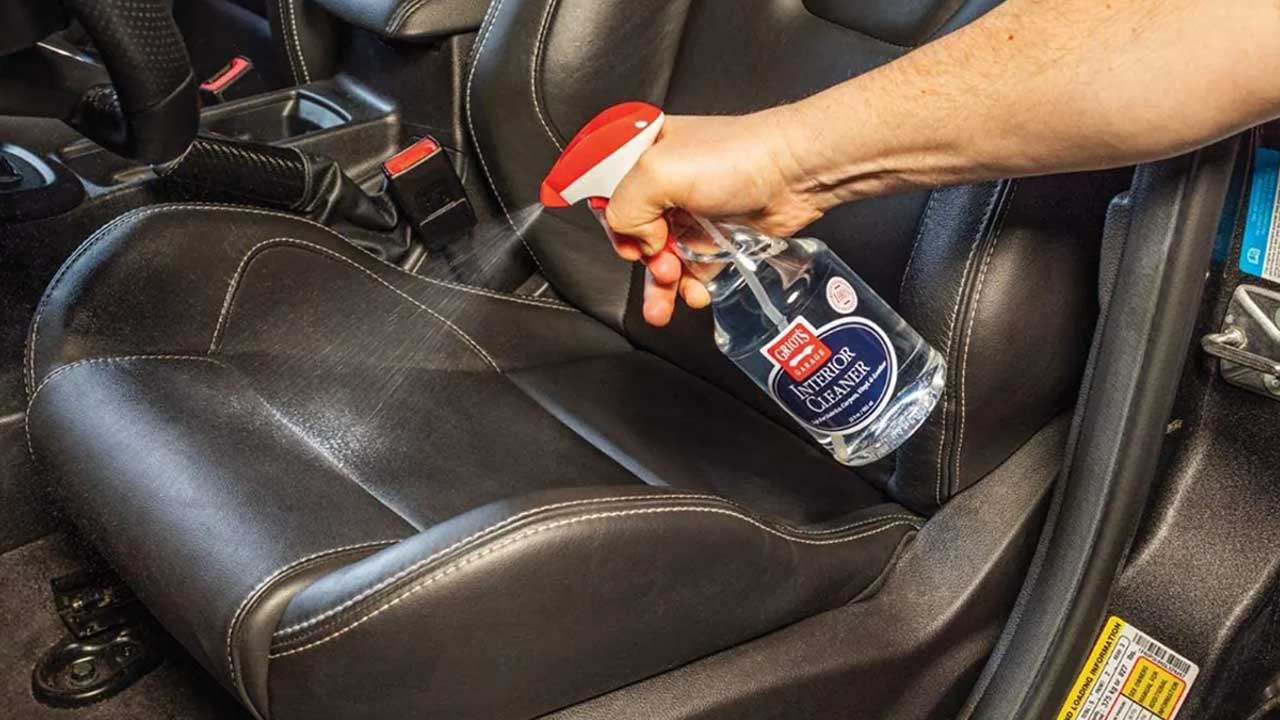
Cleaning and conditioning the seats and upholstery:
It helps to remove dirt and stains from the surfaces, as well as condition the materials to keep them soft and supple.
Here is a step-by-step guide for cleaning and conditioning the seats and upholstery of a car:
- Vacuum the seats and upholstery thoroughly to remove loose dirt and debris.
- Mix a small amount of upholstery cleaner with water according to the manufacturer’s instructions.
- Using a microfiber towel or a soft-bristled brush, apply the upholstery cleaner to the seats and upholstery. Be sure to work the cleaner into any stains or heavily soiled areas.
- Wipe the seats and upholstery clean with a microfiber towel or use a wet/dry vac to remove the cleaner.
- If desired, apply a conditioner to the seats and upholstery. Conditioner helps to keep the materials soft and supple and can help to prevent cracking and fading.
By following these steps, you can effectively clean and condition the seats and upholstery of your car, keeping them looking fresh and new.
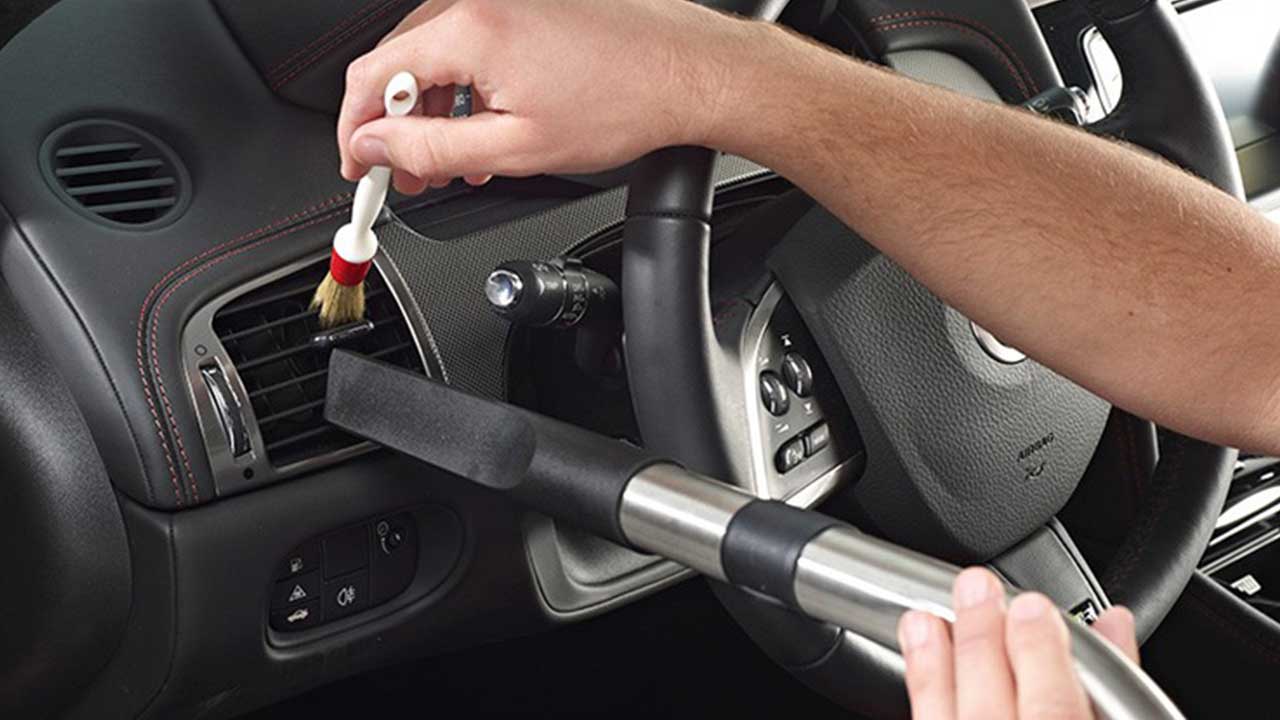
Cleaning and protecting the dashboard and trim:
It helps to remove dirt and grime from these surfaces and protect them from fading and cracking.
Here is a step-by-step guide for cleaning and protecting the dashboard and trim of a car:
- Vacuum the dashboard and trim to remove loose dirt and debris.
- Mix a small amount of dashboard cleaner with water according to the manufacturer’s instructions.
- Using a microfiber towel or a soft-bristled brush, apply the dashboard cleaner to the dashboard and trim. Be sure to work the cleaner into any stains or heavily soiled areas.
- Wipe the dashboard and trim clean with a microfiber towel or use a wet/dry vac to remove the cleaner.
- If desired, apply a protectant to the dashboard and trim. Protectant helps to create a barrier that protects these surfaces from fading and cracking due to UV rays and other environmental factors.
By following these steps, you can effectively clean and protect the dashboard and trim of your car, keeping them looking fresh and new.
Shampooing the carpets and mats:
It helps to remove dirt and stains from these surfaces, leaving them looking clean and fresh.
Here is a step-by-step guide for shampooing the carpets and mats of a car:
- Remove all loose dirt and debris from the carpets and mats by vacuuming thoroughly.
- Mix a small amount of carpet cleaner with water according to the manufacturer’s instructions.
- Using a carpet cleaning machine or a scrub brush, apply the carpet cleaner to the carpets and mats. Be sure to work the cleaner into any stains or heavily soiled areas.
- Allow the cleaner to dwell on the carpets and mats for the recommended amount of time, then extract the cleaner using a wet/dry vac or a carpet cleaning machine.
- If desired, apply a fabric protector to the carpets and mats. Fabric protector helps to create a barrier that protects the fibers from future stains and soiling.
By following these steps, you can effectively shampoo the carpets and mats of your car, leaving them looking clean and fresh.
Step 6: Final Touch-Ups and Inspection:
Checking for missed spots and touch-ups:
After completing the detailing process, it is important to check for any missed spots or areas that may need touch-ups. This can help to ensure that the car is thoroughly cleaned and polished and that all areas of the car are looking their best.
Here are a few tips for checking for missed spots and touch-ups:
- Inspect the car from all angles: Walk around the car and inspect it from all angles, looking for any areas that may have been missed or that may need touch-ups.
- Use a flashlight: If you are having trouble seeing certain areas, use a flashlight to help highlight any missed spots or areas that may need touch-ups.
- Pay attention to small details: Don’t forget to check for missed spots in small areas such as around the door handles, in the crevices of the dashboard, and under the seats.
- Use a detailing clay: If you are unable to remove certain contaminants from the paint using traditional cleaning methods, try using a detailing clay to remove them.
By following these tips, you can ensure that your car is thoroughly cleaned and polished and that all areas of the car are looking their best.

